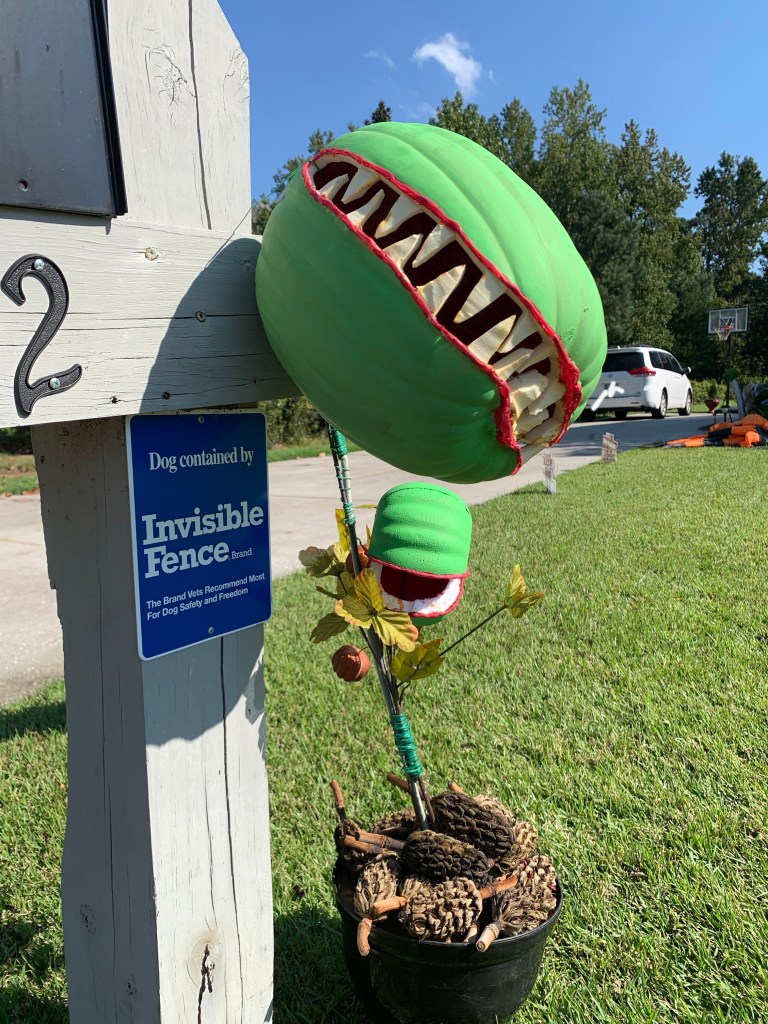
So, we happened to be in Michael’s a few weeks ago and I saw this really cute (but pricey) Venus fly trap. Rather than pay the $100 price tag for this cute Halloween prop, I thought I’d make it! Turned out fairly easy too and quite the neighborhood talking point and centerpiece.
What you’ll need:
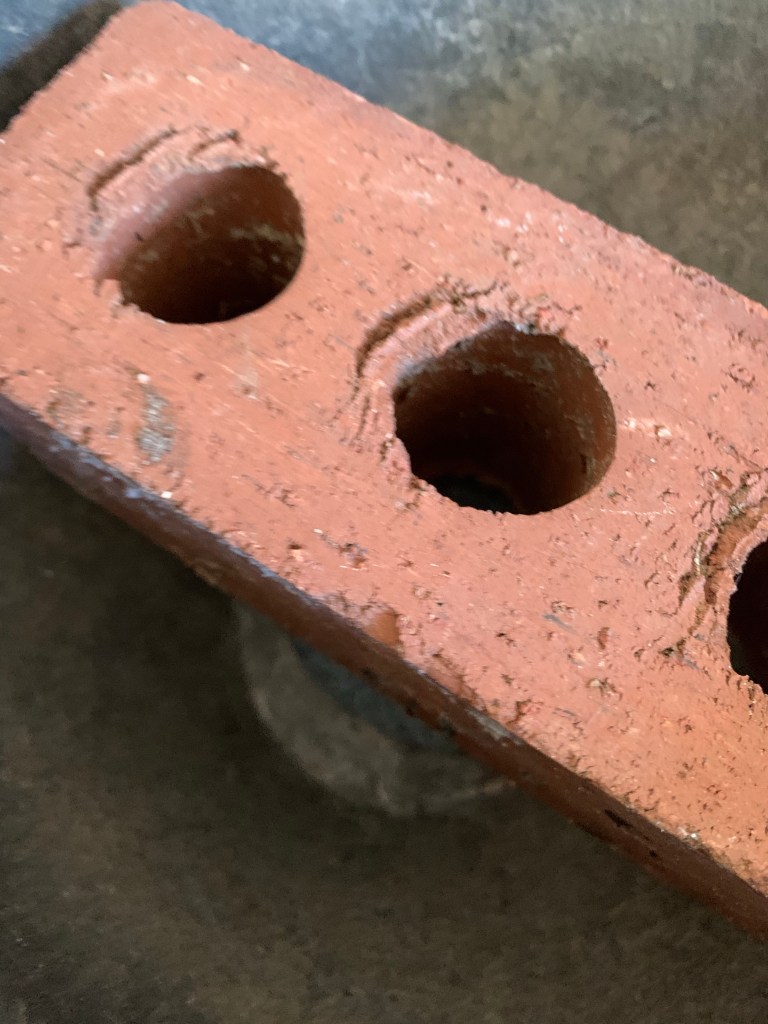
- Foam Pumpkin
- Hot knife
- Fake Sunflower stems (or something even stronger)
- Dollar store leaves/mini pumpkin leaves
- Hot glue gun/glue sticks
- Pot to use as the base
- Cardboard
- Something to weigh the pot down
- Acrylic paint (shades of green and red)
I had a lot of the stuff I required for this project already, so the only items I really needed were the foam pumpkin, the sunflower stems and the greenery/mini pumpkins with leaves that I found at my local dollar store.
I did pick up a small pumpkin from the dollar store as well so I could have a practice run on carving one out as I had never used a hot knife and I had never carved a foam pumpkin before. It’s a really good idea to do a practice run as it does smell (a lot) so you definitely need to be outside or somewhere you can get some fresh air and using a hot knife is very different to using a box cutter.
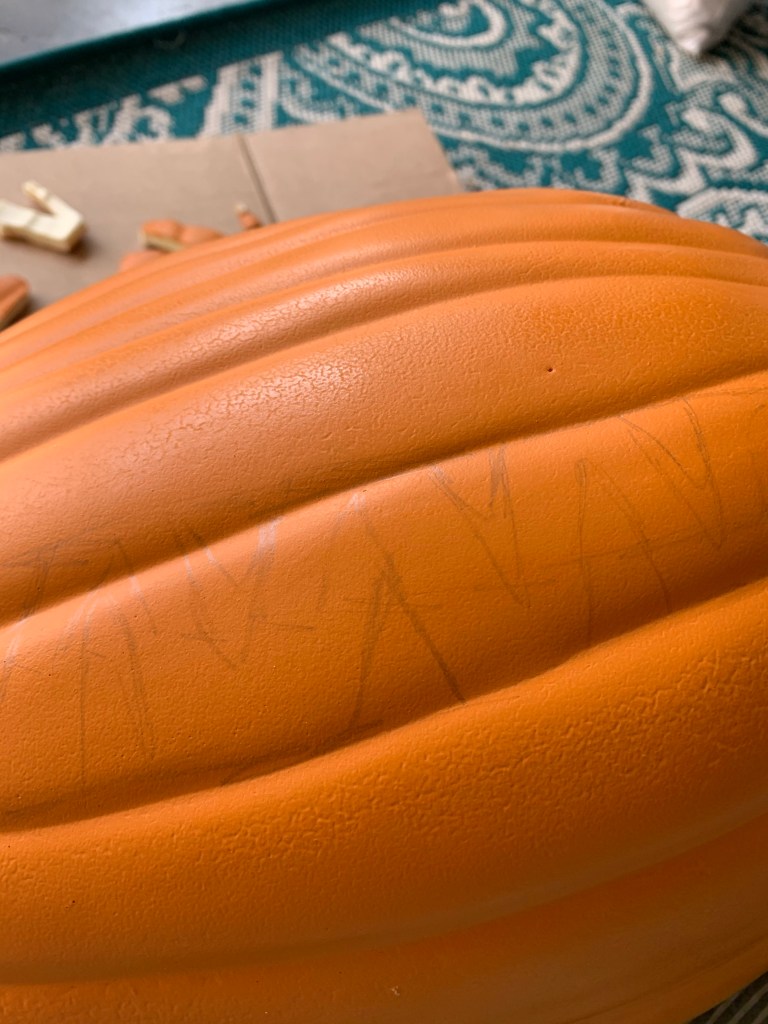
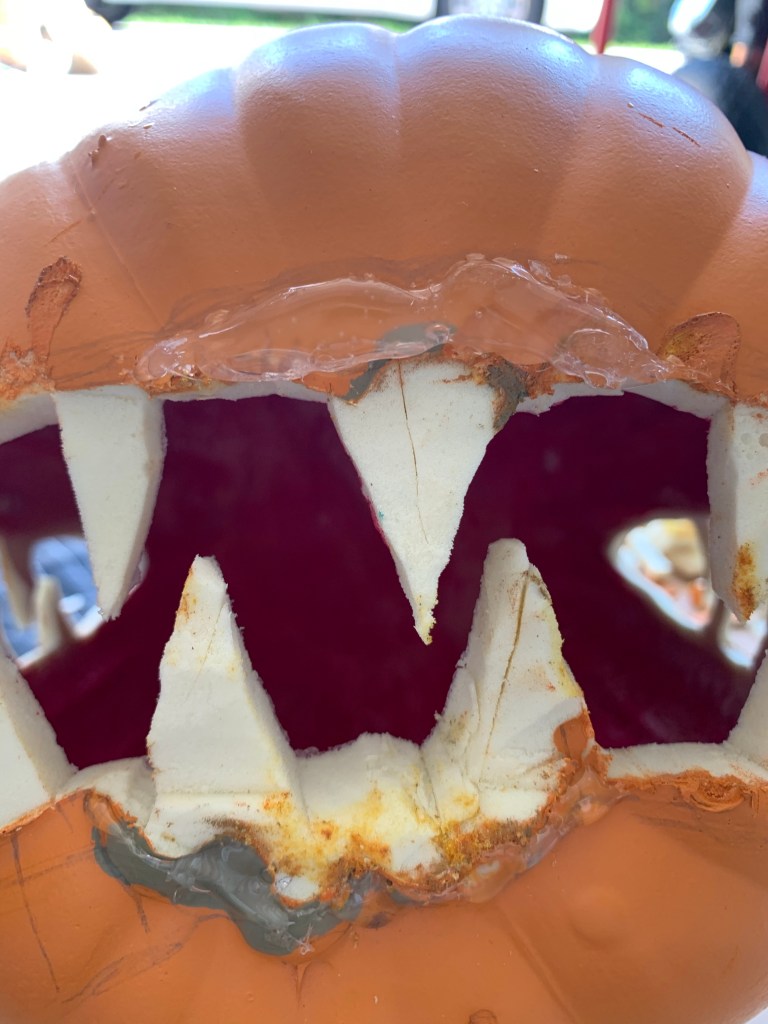
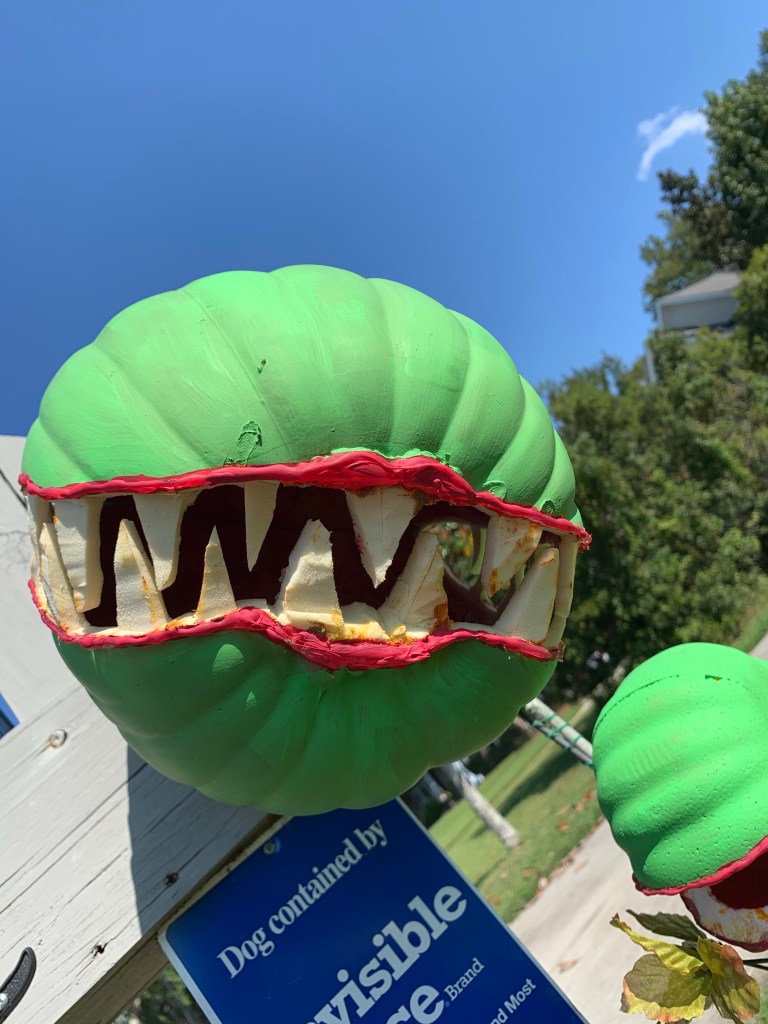
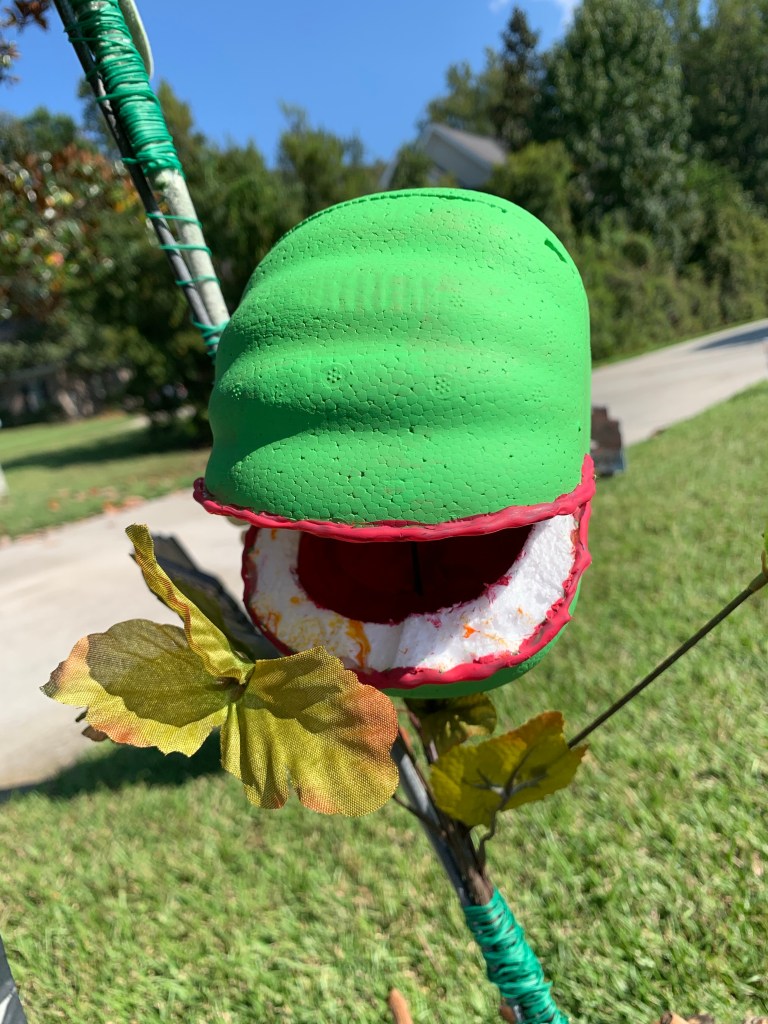
I grabbed my pencil and drew out what I wanted the “smile” to look like and it was only as I was drawing that I thought I could actually carve the teeth out of the pumpkin as well! So I drew those on there and made sure I was happy with where everything aligned itself. Definitely don’t cut until it looks good! I also thought that the end of the pumpkin with the stem on it actually looked better than the end without, so I cut my stem off and later glued (and screwed) it on to the other end.
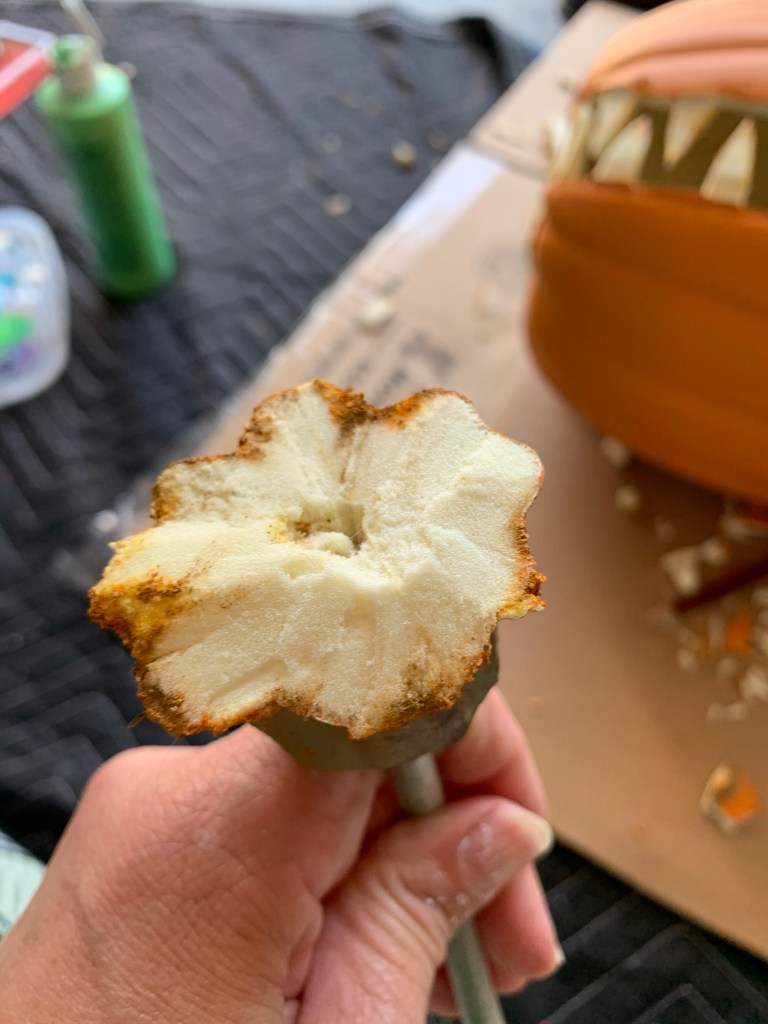
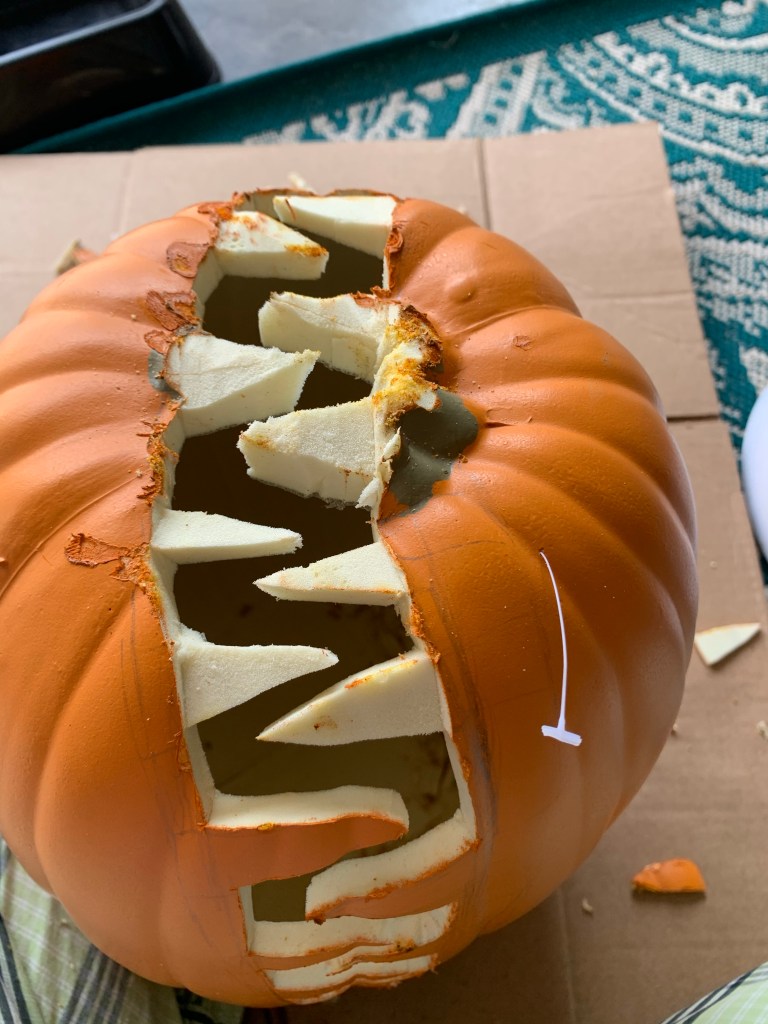
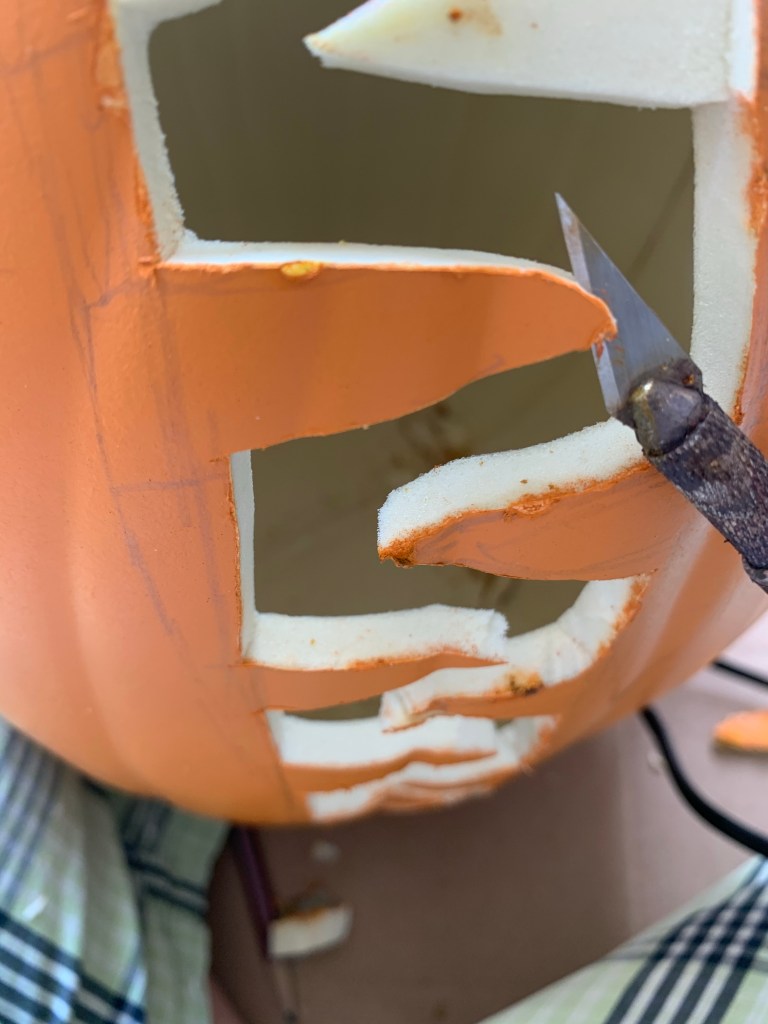
As you can see in that last photo, I used the hot knife in a sidewards motion to scrape/melt/cut the “pumpkin” skin off the side of the teeth and found their off-white look was absolutely perfect for the look I was going for. Be really careful doing this part though, it comes off easier than you think it will and I may have come dangerously close to cutting/burning myself!
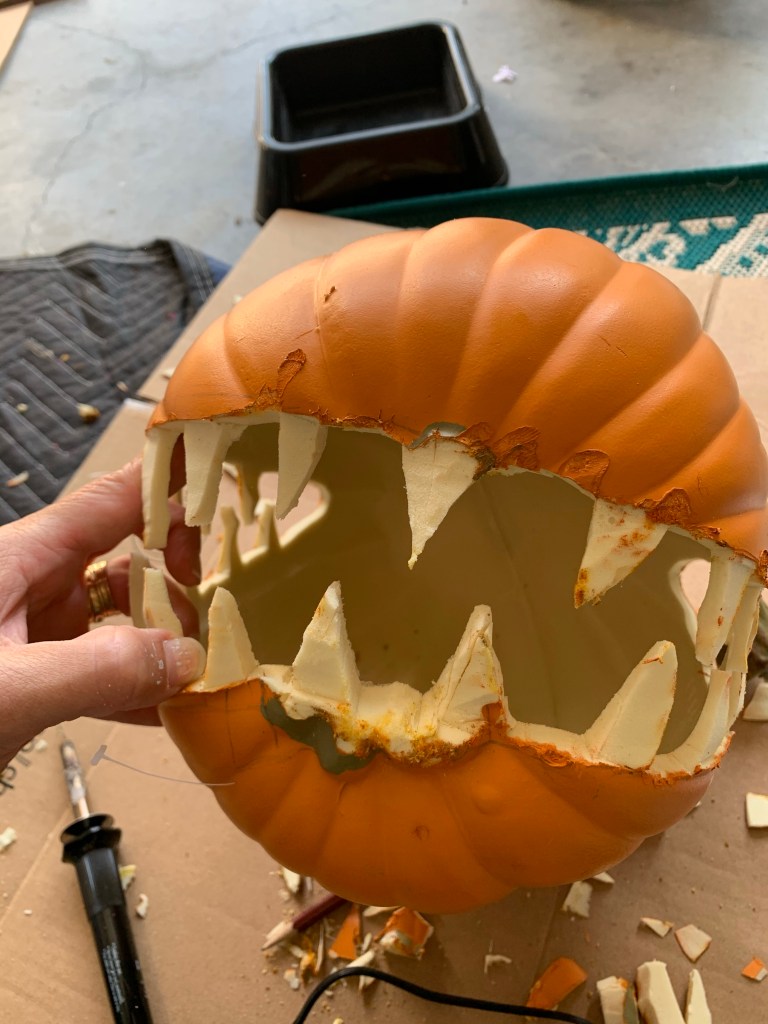
It was at this juncture I realized I needed to take a little more “skin” off from where the stem had been and use my glue gun to give her some lips. This was fun as it just came down to imagination and self-appeasement, the only problem I had was a lack of patience waiting for the glue to dry in between layers. I did end up doing three different layers of glue before I was happy with it.
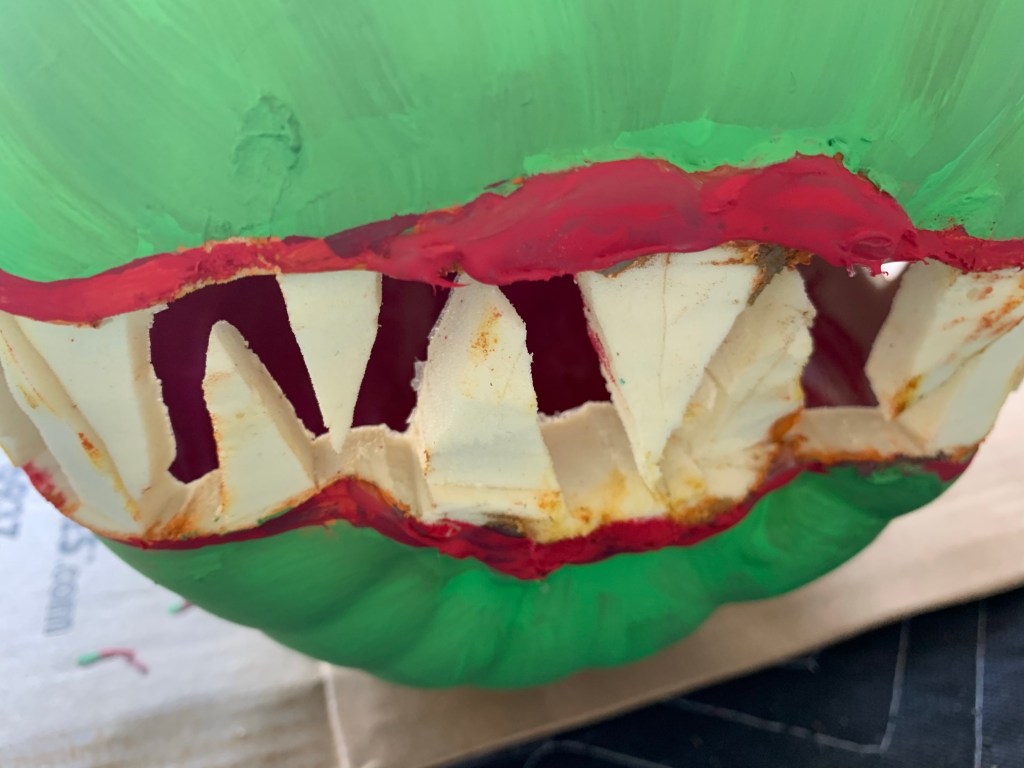
Then it was on to the painting. The first thing I did was pour red paint inside the “mouth” and use a long paint brush to delicately push it around the entire inside of the mouth. This took some patience as it was on very thickly (to be able to swirl it around inside without damaging any of the teeth on the outside) and took forever to dry! I used two different shades of green (just from Walmart’s cheap acrylic paint selections & painted until I was happy. Each side of the pumpkin took 2 coats followed by some touches up. The lips were painted after the green was dry and that’s where I had to do some touching up around the edges.


Finally she started looking like the one I had modeled her off!

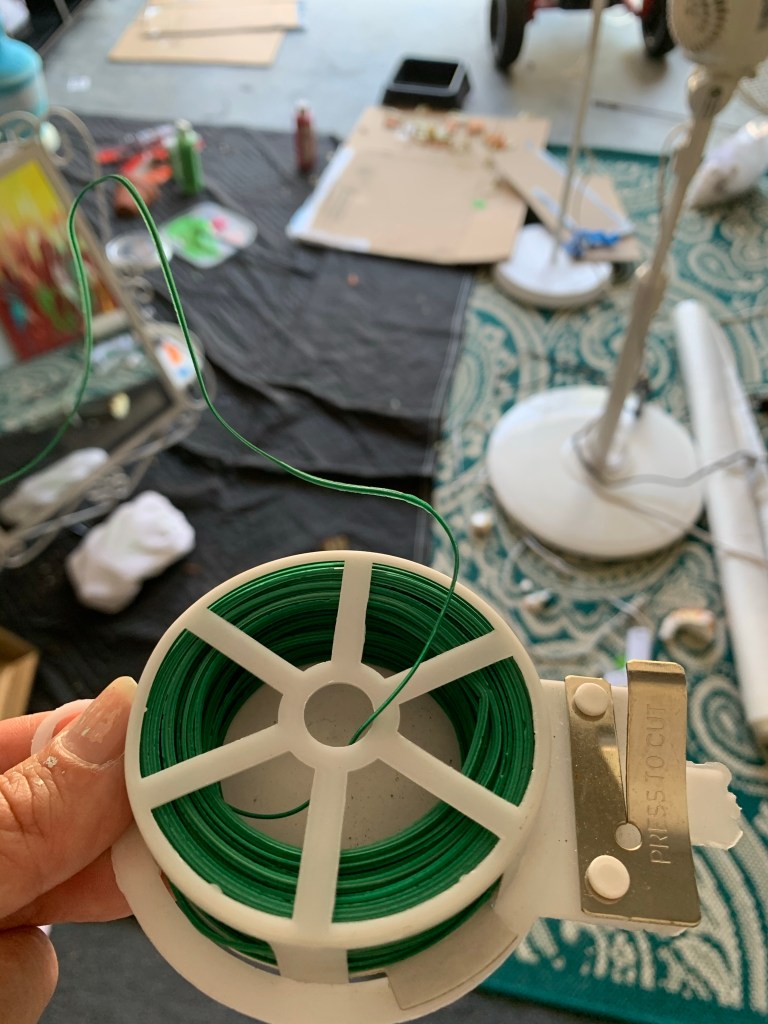
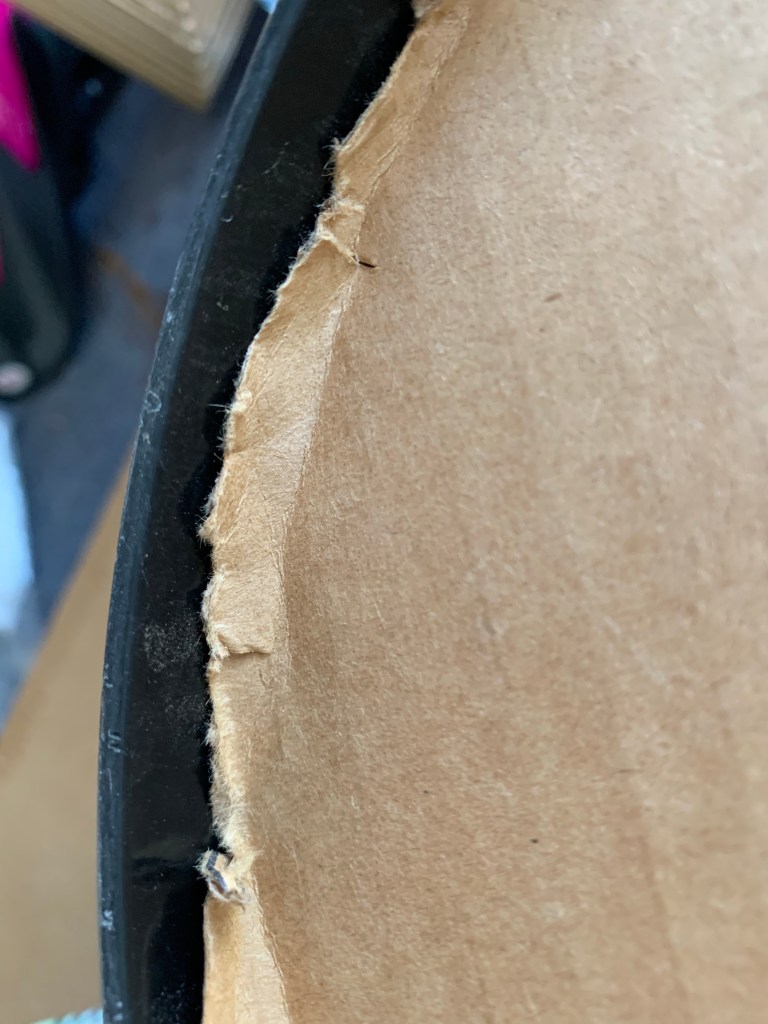
After I was happy with the painting side of it, I put a hole in the original stem for the sunflower stems to go through and glued it on to the other side of her, but as I said earlier, I found the glue wasn’t quite strong enough so I ended up finding a screw and screwing the stem down. Now it was a matter of getting her to be able to stand on her own and look like she was a little more polished. I used both sunflower stems but actually found these weren’t strong enough on their own so had to get some floral wire and wrap it around the stems, reinforcing them a little bit. I put the stems in a black pot I already owned and used a couple of bricks/stones to hold them in place. In the meantime I had traced a hole (using the pot as my frame) from a piece of cardboard (one of our thicker moving boxes) and used it to cover everything in the pot. I wanted this to sit in there nicely and securely so it was really a matter of cutting little tiny slits all around the edge of the original circle to make it squeeze inside the pot perfectly.
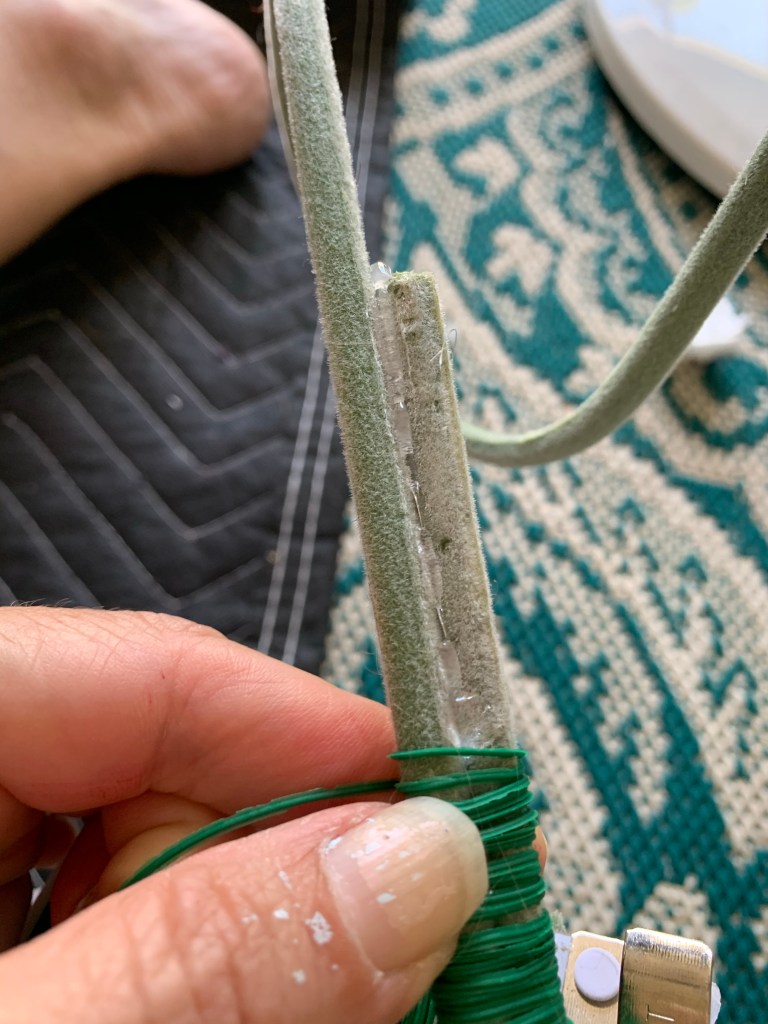

I wrapped the dollar store leaves/mini pumpkins and even the practice pumpkin all with the green floral wire and attached it to my two sunflower stems then poked a hole through the cardboard. I actually ended up attaching the whole thing to my mailbox as the stems still weren’t strong enough to stay up on their own even with the floral wire, so my suggestion would be to find something a little thicker and a little stronger if you want this to be a standalone item. I’m going to cross that bridge next year when I have some more time to invest in making this a standalone item. For now though, I think it came out great! And it cost me less than $20!
Let me know what you think and if you’ve got any suggestions for keeping it upright on its own or you’d like to share your photos when you make this yourself.
If you enjoy reading my crazy, varied blogs, please subscribe here on WordPress. Sharing is caring, so feel free to share with your friends. I’m on Facebook: Aussie Mum’s Adventures. Come like my page and share it with your friends! You can find me on Twitter: @ozmumsadventures, on Instagram: Ozmumsadventures, and on Pinterest: Aussiemumsadventures