
With Halloween only days away, I thought I’d share with you some of the things I’ve made for this year’s Halloween party! Notice I didn’t say just say “Halloween” that’s because in my house, it’s become more about the party than it has the actual night! Sorry kids! 🤣
Anyway, this year is going to be a blast and I wanted to share with you some fun, cheap DIY projects that you too can do at home with some pretty basic supplies!
1. Dollar store hanging pen
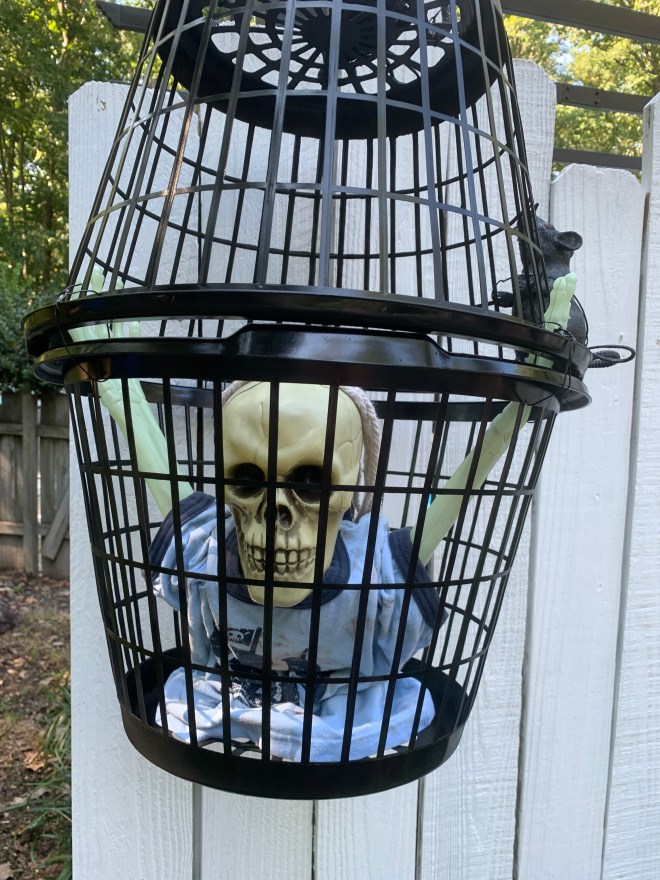
This one was really cheap and really easy to make, you could honestly stick anything inside it too, I just wanted something fun and easy to hang near the street, so opted for what a I’ve got.
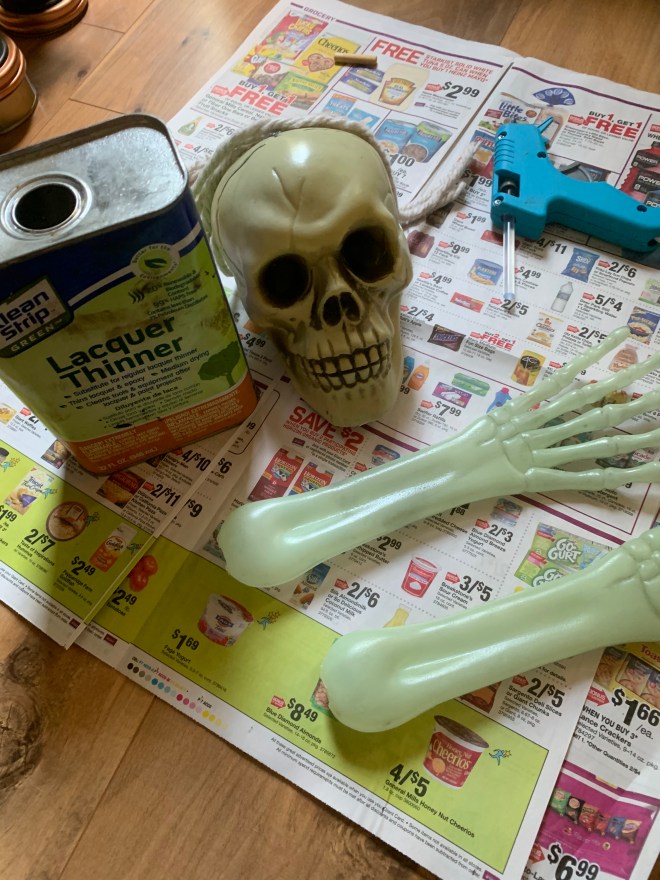
What you’ll need: 2 baskets from the dollar store (sorry Aussies, you’ll have to pick some up from one of the cheap shops, I know they’re not a dollar, but still pretty reasonable). I spray painted them black with spray paint I already had but you can pick up cheap spray paint from Walmart or even your local hardware store.
I bought 2 stake (as in you normally stake them in to the ground) glow-in-the-dark arms from Dollar Tree as well as one of their skulls. I bought a mop also from there. I had an empty lacquer thinner container that I used as my ‘body’ (after I had rinsed it, of course) and got one of my son’s old shirts.
Get your dollar store mop and remove some of the strands:
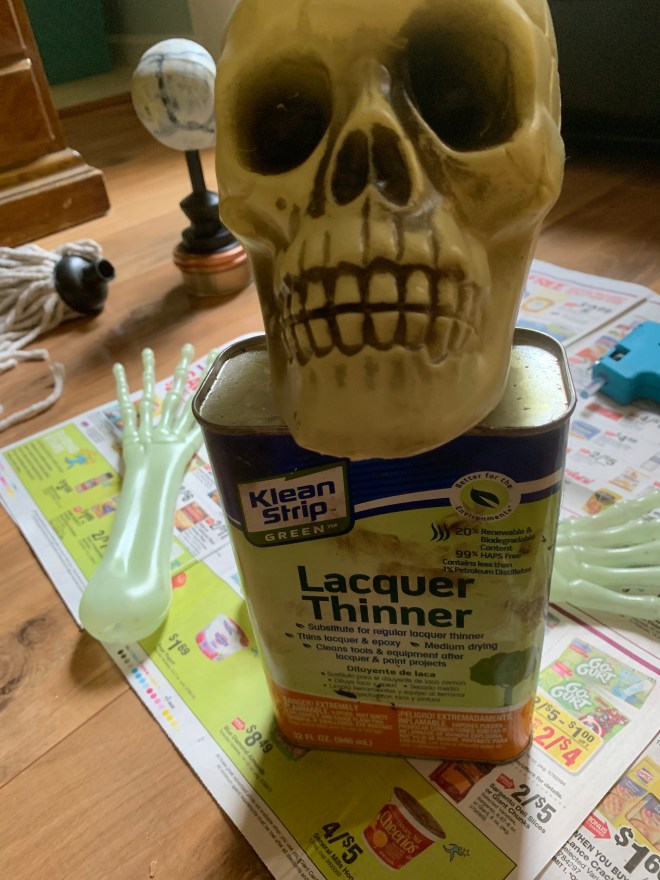
I got a glue gun and took the strands from the mop and glued them to my skull. Nothing fancy, just gluing wherever they looked good. Then it’s a matter of putting it all together, I’ve seen similar projects with skeletons inside the baskets or even homemade ‘monsters’, as I said I opted for something super simple. The process was very easy and maybe took all of 20 mins (excluding drying time).
I grabbed the lacquer thinner container and drilled a hole on each side for the arms to slit into and put a dab of hot glue to hold them in place. I also hot glued the skull on to where the lid formally lived. Then it was just a matter of putting the shirt on and placing him in the basket.
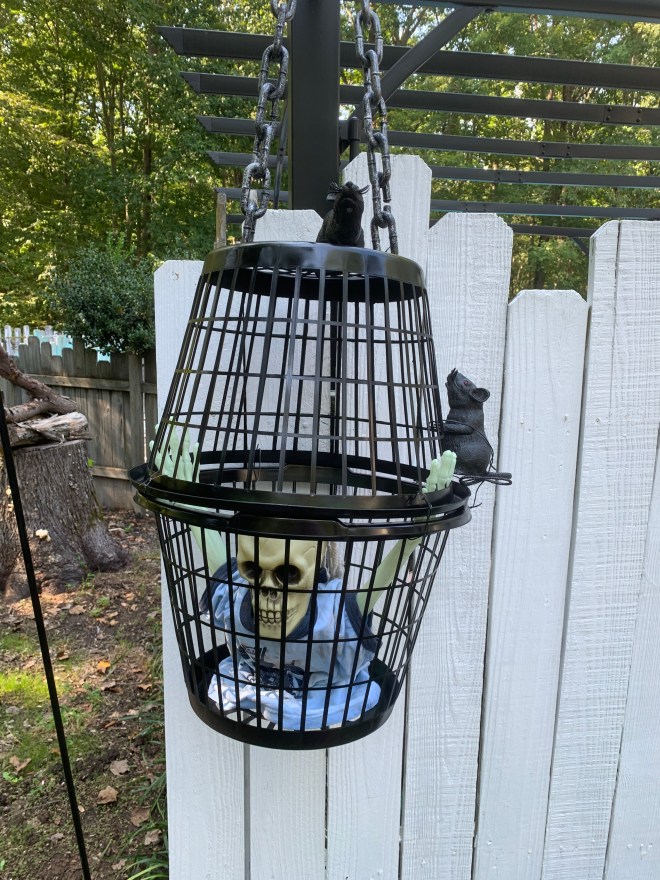
After the baskets were dry (having sprayed both inside and outside of each) I placed my ‘half-guy’ into the basket and put the other one on top. I placed the hands where a I wanted them to go and zip tied everything in place. Then it was a matter of putting a couple of Dollar Tree rats on the outside of the cage and a chain from there also and zip tying those into place too. It has been outside in all sorts of weather and still looks great!
2. Dollar store trophies
I wanted to give out trophies this year as well as the prizes we regularly give out, but didn’t want to spend a fortune on them so I grabbed these from Dollar Tree:
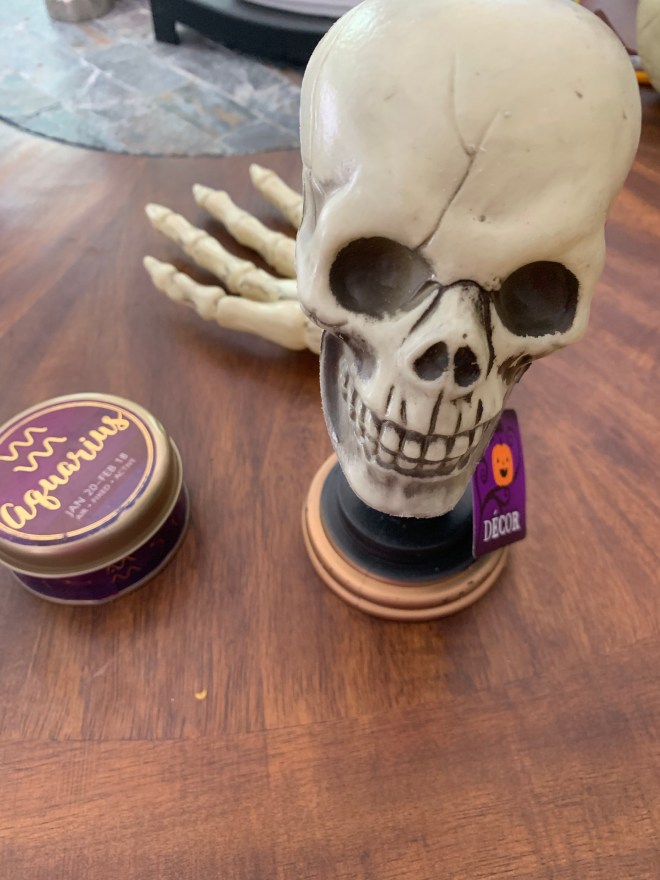
and made them into these:
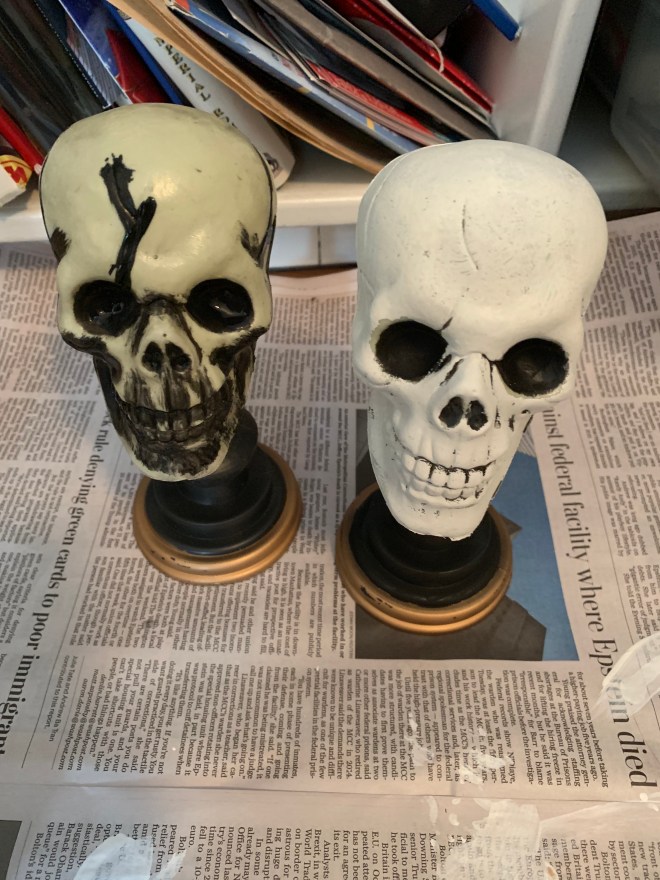
Super easy too! All you do is give the skull a light sanding and using acrylic paint, darken the already darkened areas on the skull. Grab a light grey paint (or gold/brown or whatever colour you like) then go over everything else, leaving the darkened spots in place to contrast. The great thing is that if you make a mistake, you can easily go back over it with whatever paint you need to!
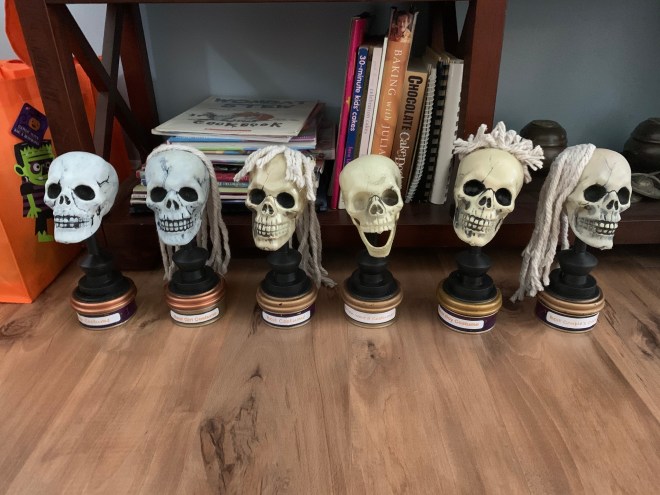
Then I got a candle (also from Dollar Tree) that fitted into the top of the trophy perfectly. I hot glued this in place (just the lids so that if someone wants to use the candle they still can). Some of the candles I painted in a metallic acrylic paint, others I left as is. I printed out trophy names on the printer, cut them out and modpodged them to the candle cases. I glued hair on some and not on others, there’s even one as a gag trophy to a friend of ours because he promised to finally wear a costume to this year’s party! 😆
Let me know what you think. And if you try this yourself, I’d love to see your photos!
If you enjoy reading my crazy, varied blogs, please subscribe here on WordPress. Sharing is caring, so feel free to share with your friends. I’m on Facebook: Aussie Mum’s Adventures. Come like my page and share it with your friends! You can find me on Twitter: @ozmumsadventures, on Instagram: Ozmumsadventures, and on Pinterest: Aussiemumsadventures

